


If you’ve ever thought about beefing up your home security, you’re in luck. Wired home alarm systems offer a reliable solution, and the best part? You can tackle the installation yourself. No need to wait for a technician, and no excessive fees lurking around the corner. In this guide, we’ll investigate into the nuts and bolts of these systems, and by the end, you’ll feel like a security expert. So grab your tools and let’s get to work, because peace of mind is just a DIY away.
Understanding Wired Home Alarm Systems

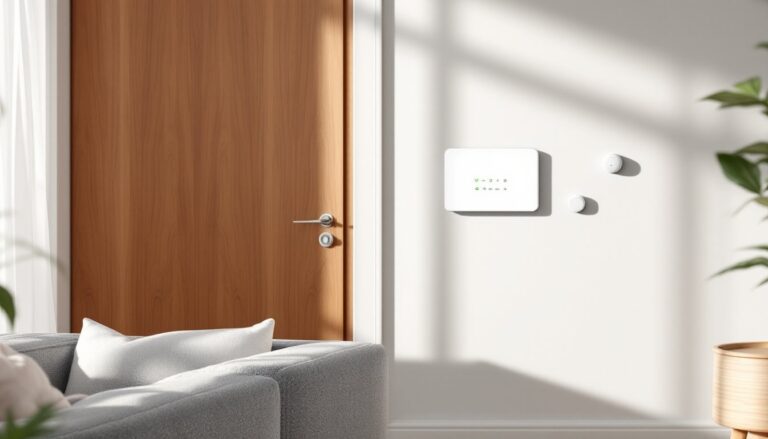
Wired home alarm systems are unparalleled when it comes to security. Unlike their wireless counterparts, they rely on physical wires to connect various components, creating a robust communication network. This direct connection minimizes interference and ensures reliability that’s hard to match. These systems typically include entry sensors, motion detectors, and a control panel hardwired directly into the home’s electrical system. For homeowners wanting serious protection, understanding how these systems operate is a great first step.
The main selling point of wired systems is their stability. They don’t suffer from interference due to walls or appliances. Plus, you’ll never need to worry about battery failures or wireless signal drops when the wind decides to kick up. In essence, choosing a wired system means choosing consistent vigilance.
Benefits of Choosing a Wired System
Opting for a wired home alarm system comes with a host of benefits. First and foremost, they are typically more secure than wireless systems. A hacker can easily meddle with a signal, but tampering with physical wires requires a level of bravado most criminals simply don’t possess.
Also, these systems usually offer better performance in terms of connectivity. Users can experience fewer false alarms thanks to the more direct signals transmitted. Also, since these systems are wired directly to your home’s power, they can function even during power outages when equipped with backup batteries.
Cost-effectiveness also shines through. Once installed, wired systems can be cheaper to maintain, with no ongoing signal fees that often come with their wireless counterparts.
Essential Components of a Wired Alarm System
To set up a wired home alarm system, several essential components are necessary:
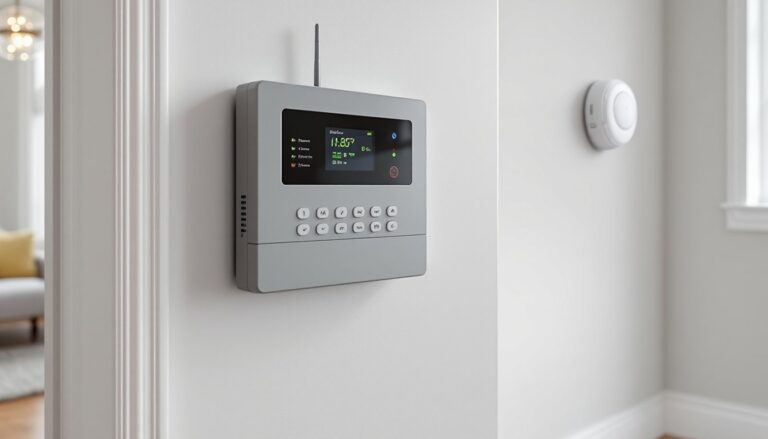
- Control Panel: This is the brain of the operation. It’s where the wires converge, and it’s used to manage all aspects of the system.
- Sensors: Entry sensors are crucial for protecting doors and windows. Motion detectors help cover larger areas and notify you of movement within your premises.
- Cameras: For visual security, wired surveillance cameras can be integrated. These can be connected directly to your system for monitoring.
- Alarm Siren: An audible alarm will sound when a breach is detected. This not only alerts residents but also deters intruders.
- Power Supply: A reliable power source ensures your system remains operational. Look for systems with backup features to maintain functionality during outages.
- Wiring: The right wiring is imperative. Depending on your layout, you might need control, sensor, and power wiring.
Step-By-Step Guide to Installing a Wired Alarm System
Installing a wired home alarm system involves a few straightforward steps:
- Plan Your Layout: Before even touching a tool, envision where each component will reside. Consider the most vulnerable entry points, rooms with valuables, and areas that require monitoring.
- Gather Your Tools: Essential tools include a drill, screwdriver, wire cutter, and fish tape for pulling cables. Having everything ready will make the installation smoother.
- Run the Wires: Start by running wires from your control panel to each sensor location. This may involve drilling holes in walls or even running wires through attic spaces, depending on your home’s configuration.
- Connect Components: Once the wires are in place, connect your sensors to the control panel. Pay attention to the wiring color codes to avoid confusion.
- Test Each Sensor: After connecting, test each sensor to ensure they’re functioning correctly before securing everything.
- Install the Control Panel: Mount it in a central location that is easily accessible but not obvious to intruders.
- Final Setup: Configure the settings, such as alarm timings, and finally, test the entire system. This ensures everything operates seamlessly.
Common Challenges and Solutions
Every DIY project comes with its share of hurdles, and installing a wired alarm system is no exception. Here are some common challenges and practical solutions:
- Wiring Issues: If the wires do not reach their intended endpoints, consider using longer cables. Remember that while making the connections, it’s essential to verify color coding.
- Interference: Though rare, sometimes other household devices may cause interference. Replacing cables with higher quality, shielded ones can mitigate this issue.
- False Alarms: If your system triggers alarms sporadically, adjusting the sensitivity settings on your motion detectors may help.
- Installation Placement: Misplaced cameras or sensors can lead to blind spots. Re-evaluate their locations and adjust accordingly for maximum coverage.
Maintaining Your Wired Alarm System
Like any system, maintaining a wired alarm system ensures it performs at peak efficiency. Here are some care tips:
- Regular Testing: Monthly tests of each component will help identify issues before they become bigger problems.
- Inspect Wiring: Over time, wires can suffer wear and damage. Regularly check for any visible tampering or weather-related wear.
- Update Software: If your system allows for software updates, ensure you’re on the latest version for enhanced security features.
- Replace Batteries: For any battery-powered components, like sensors, replace batteries every few years to ensure reliability.