

Table of Contents
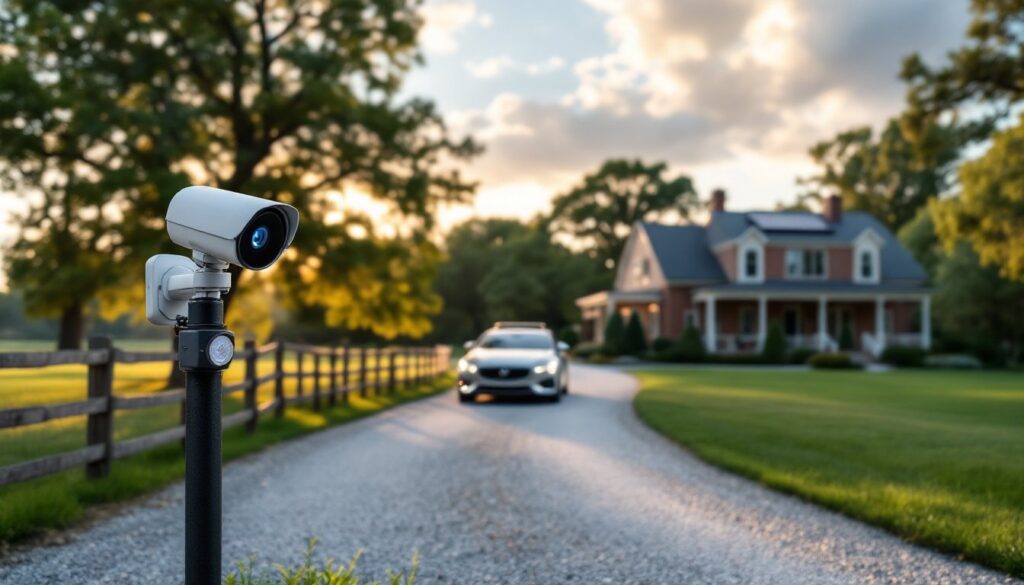
ToggleLong driveways and isolated properties create a blind spot problem, someone can be halfway to your house before you know they’re there. A driveway alarm with camera solves this by alerting homeowners the moment a vehicle or person enters the property while capturing video evidence. These systems combine motion detection with video surveillance, giving property owners both early warning and visual confirmation. Whether dealing with package thieves, unwanted visitors, or simply wanting to know when family arrives home, a driveway alarm camera offers practical security without a monthly monitoring fee in most cases.
Key Takeaways
- A driveway alarm with camera combines motion detection sensors and video recording to alert homeowners immediately when vehicles or people enter the property, providing 30–90 seconds of advance notice.
- Driveway alarm camera systems capture critical evidence of package theft, preventing losses affecting nearly 50 million Americans annually and strengthening insurance claims.
- Choose cameras with at least 1080p resolution and night vision capabilities matching your detection range to clearly capture license plates and facial details for identification.
- Mid-range systems ($200–$400) offer the best value with 1080p–2K resolution, AI-powered detection, and reliable wireless transmission across 50+ feet without monthly monitoring fees.
- Proper installation requires testing Wi-Fi signal strength beforehand, mounting sensors at 3–4 feet height and cameras at 7–10 feet with a 15–20 degree downward angle for optimal coverage.
- For solar-powered units, position panels facing true south with at least six hours of direct daily sunlight, and clean them every 3–4 months to maintain charging efficiency.
What Is a Driveway Alarm With Camera and How Does It Work?
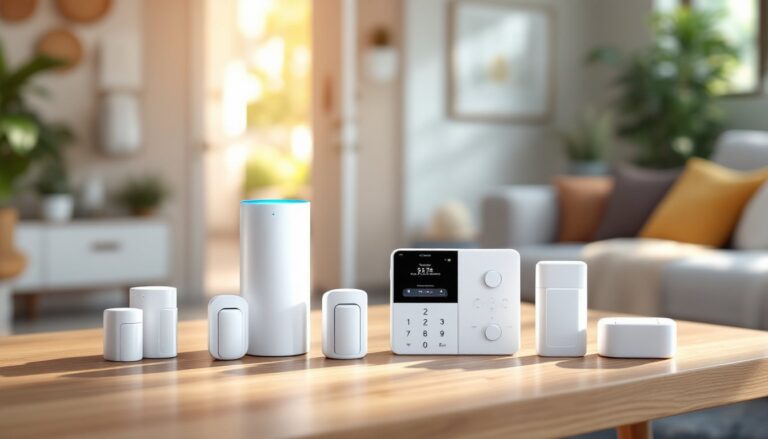
A driveway alarm with camera integrates two technologies: motion detection sensors and video recording. The sensor component triggers when it detects movement, either through passive infrared (PIR) technology that reads heat signatures, or through radar/microwave sensors that detect physical motion. When triggered, the system sends an alert to a base unit inside the home, a smartphone app, or both.
The camera component activates simultaneously, either recording continuously or starting recording when motion is detected. Most systems use wireless transmission (Wi-Fi or proprietary RF signals) to communicate between the driveway sensor, camera, and receiver. Range is critical, quality systems maintain reliable signals across 500–1,000 feet, though obstacles like metal buildings or dense tree lines will reduce this.
Two main configurations exist: integrated units where the sensor and camera occupy the same housing, and separate component systems where a driveway sensor triggers a separate security camera. Integrated units simplify installation but limit placement flexibility. Separate systems let homeowners position sensors at property entry points while mounting cameras at optimal viewing angles.
Power options vary. Hardwired systems require 120V AC power or low-voltage wiring, which means trenching cable under the driveway or hiring an electrician, not always DIY-friendly. Solar-powered units with rechargeable batteries offer easier installation but need adequate sunlight exposure. Battery-only units work where solar isn’t viable but require periodic battery swaps, typically every 3–6 months depending on trigger frequency.
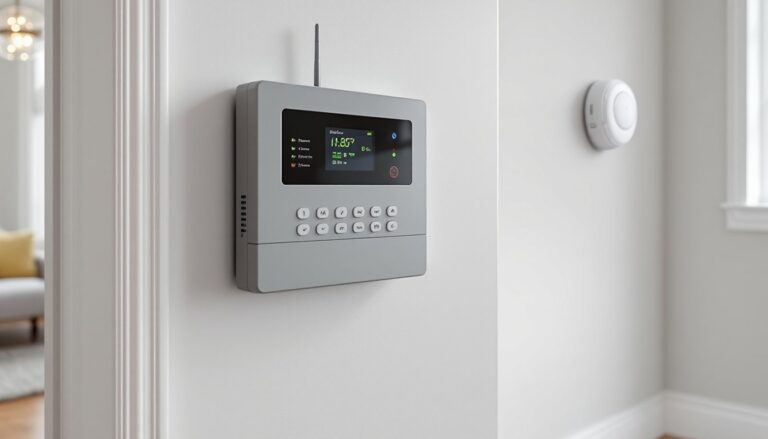
Most modern systems connect to home Wi-Fi networks, enabling smartphone notifications and cloud storage for recorded footage. Some older or budget models use dedicated RF receivers that plug into an outlet inside the home, producing an audible chime or tone when the sensor triggers.
Why You Need a Driveway Alarm Camera System
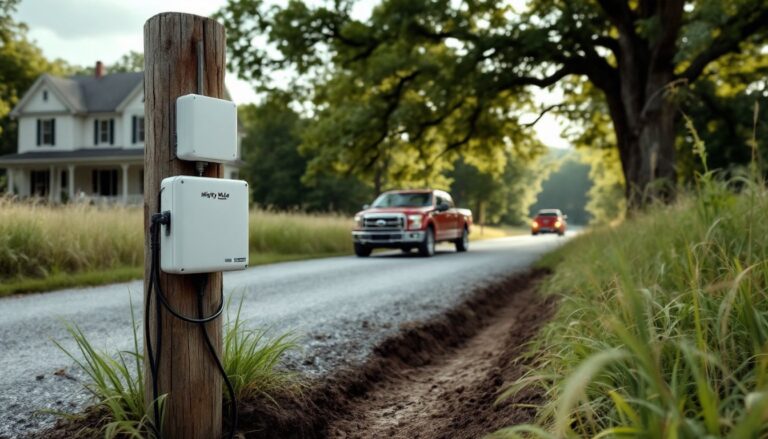
Early warning ranks as the primary benefit. Rural properties and homes with long driveways give trespassers or delivery drivers time to reach the house unnoticed. A driveway alarm provides 30–90 seconds of advance notice, enough time to check the camera feed, prepare for a delivery, or respond to an unexpected visitor.
Package theft has become a national problem. According to data from recent smart home security surveys, nearly 50 million Americans experienced package theft in the past year. A driveway camera captures license plates, faces, and vehicle details before a thief reaches the porch. This evidence proves invaluable for police reports and insurance claims.
Property security extends beyond theft. Knowing when contractors arrive, monitoring teenage drivers, or documenting trespassers all become simpler with video verification. For properties with gates or long access roads, these systems eliminate the need to walk outside or drive to the entrance just to see who’s arrived.
Homeowners insurance considerations matter too. Some insurers offer premium discounts for documented security systems, and video evidence of accidents or property damage strengthens claims. If someone drives onto a property and damages landscaping, fencing, or structures, camera footage provides proof of fault.
The systems also discourage unwanted activity. Visible cameras deter casual trespassers, illegal dumping, and late-night shenanigans on private roads. Even if the camera housing is empty, the perception of surveillance changes behavior.
Key Features to Look for in a Driveway Alarm Camera
Detection Range and Sensor Technology
Detection range determines how far from the installation point the sensor will trigger. PIR sensors typically detect motion within 30–50 feet and work best for vehicle detection on driveways since vehicles produce significant heat signatures. These sensors struggle with small animals or distant pedestrians.
Microwave or radar sensors detect physical movement across 50–100+ feet and work through light barriers like bushes or wooden fences, though they can produce more false alarms from tree branches or wildlife. Some premium systems use dual-technology sensors that require both heat and motion detection before triggering, reducing false positives.
Adjustable sensitivity settings help fine-tune performance. If the driveway borders a busy road, lowering sensitivity prevents alerts from passing traffic. Properties with frequent wildlife may need higher sensitivity thresholds or specific sensor placement to avoid triggering on deer or raccoons.
Detection zones matter for camera-based systems. Look for cameras with customizable motion zones that allow users to mask areas prone to false triggers (like tree lines or neighboring driveways) while monitoring the actual driveway approach.
Video Quality and Night Vision Capabilities
1080p resolution has become the baseline for useful footage, anything lower struggles to capture license plates or facial details beyond 15–20 feet. 2K or 4MP cameras provide sharper images for identification purposes, especially when digitally zooming on recorded footage.
Field of view (FOV) should match the driveway width and approach angle. Wide-angle lenses (110–130 degrees) capture more area but distort edges and reduce detail at distance. Narrower lenses (80–100 degrees) work better for long, straight driveways where detail matters more than peripheral coverage.
Night vision capability splits into two categories: infrared (IR) LEDs that illuminate the scene with invisible light, and color night vision using ambient light sensors or built-in spotlights. IR night vision works in complete darkness but produces black-and-white footage. For identification purposes, ensure the IR range matches or exceeds the detection range, a 50-foot sensor paired with 30-foot IR creates a blind spot.
Weatherproofing isn’t optional. Look for IP65 or higher ratings, which indicate dust-tight construction and protection against water jets from any direction. Temperature ranges should cover local climate extremes: budget cameras often fail in sustained freezing or heat above 110°F.
Compression and storage affect usability. H.265 video compression reduces file sizes without sacrificing quality, extending cloud storage duration or SD card capacity. Local storage via microSD cards (typically 32–128GB) provides backup if Wi-Fi fails, while cloud storage enables remote access and prevents thieves from stealing the recording device.
Top Driveway Alarm Camera Options for Different Budgets
Budget category ($100–$200): Systems in this range typically offer separate sensor and camera components with basic 720p–1080p resolution. Expect battery or solar power, limited detection range (30–40 feet), and basic smartphone apps. These work for short driveways or supplemental monitoring but often lack advanced features like vehicle/person detection AI. False alarms from wildlife or weather become more common at this price point.
Mid-range systems ($200–$400): This sweet spot delivers 1080p–2K resolution, improved detection range (50+ feet), weatherproof construction rated for extreme temperatures, and more reliable wireless transmission. Many include free cloud storage for 24–48 hours of recordings and AI-powered detection that distinguishes between vehicles, people, and animals. Solar panels with rechargeable batteries eliminate power concerns, and two-way audio lets homeowners communicate through the camera.
Premium options ($400–$700+): High-end systems from companies frequently reviewed by home technology experts provide 4K resolution, color night vision, 90+ days of cloud storage, and integration with smart home platforms like Alexa, Google Home, or Apple HomeKit. Detection zones become fully customizable, and advanced AI reduces false alerts to near zero. Some offer continuous recording rather than motion-only clips, and professional-grade weatherproofing extends lifespan. These systems often include ONVIF compatibility, allowing integration with third-party NVR (network video recorder) systems for local storage and playback.
For properties requiring multiple coverage points, long circular driveways, ranch entrances, or businesses, expandable systems with support for 4–8 cameras provide better value than individual units. Look for systems that maintain full resolution across all cameras simultaneously rather than splitting bandwidth.
Permit considerations: Installing security cameras on your own property typically doesn’t require permits, but hardwired installations that tap into household electrical systems may need inspection depending on local electrical codes. If mounting cameras on poles or structures taller than 10 feet, check local zoning ordinances, some jurisdictions treat these as structures requiring permits.
Installation Tips for Your Driveway Alarm System
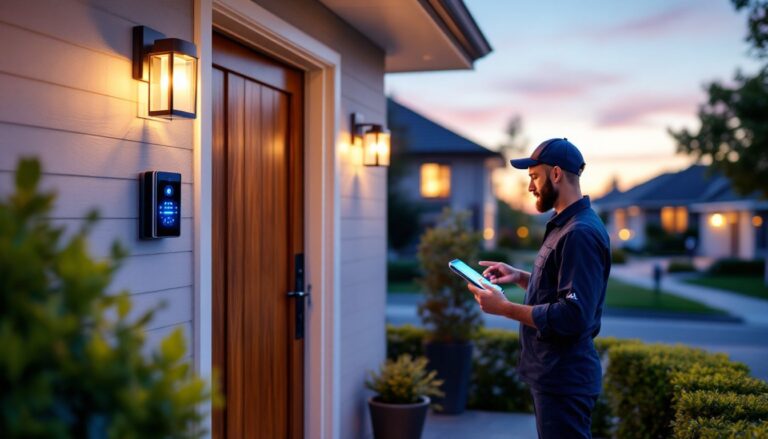
Site survey comes first. Walk the property with your smartphone to test Wi-Fi signal strength at potential camera locations. Most systems need at least two bars of consistent signal. If Wi-Fi doesn’t reach, consider a wireless mesh network extender or opt for systems using proprietary RF communication that doesn’t rely on home internet.
Mounting height affects both detection and image quality. Position PIR sensors at 3–4 feet above the ground, angled slightly downward, this height optimizes detection of vehicle heat signatures while reducing false triggers from small animals. Mount cameras at 7–10 feet to capture faces and license plates while staying out of easy reach. Angle cameras 15–20 degrees downward toward the driveway approach.
Sensor placement should cover the earliest practical detection point. For properties with gates, mount sensors just inside the gate. For open driveways, position sensors where the driveway meets the public road, ensuring they don’t trigger on passing traffic. Test the detection zone before permanent mounting, walk and drive through at various speeds.
Weather protection extends beyond the IP rating. Mount cameras with slight forward tilt to prevent rain from pooling on the lens. Position them under eaves, overhangs, or use sunshade accessories to reduce lens glare and extend equipment life. In cold climates, ensure battery compartments remain accessible for winter maintenance without ladder work.
Wireless range testing prevents frustration. Before final mounting, power up the system and test transmission at maximum distance. Walk with the receiver or check the smartphone app while standing at the sensor location. Metal siding, concrete walls, and dense foliage degrade signals, you may need to adjust placement by 10–20 feet for reliable performance.
For solar-powered units, aim panels toward true south (in the Northern Hemisphere) with minimal shade between 10 a.m. and 2 p.m. Six hours of direct sunlight daily keeps batteries charged through cloudy stretches. Clean solar panels every 3–4 months: dust and pollen reduce charging efficiency by 20–30%.
Aiming the camera requires test footage. Record test clips during both day and night, then review for blind spots, glare, or obstructions. Adjust the angle until license plates and faces appear clearly at the furthest detection point. According to insights from connected home device testing, most installation failures stem from poor angle selection rather than equipment defects.
Securing wired systems means protecting cable runs. If trenching power lines under the driveway, use schedule 40 PVC conduit buried at least 12–18 inches deep (check local electrical codes, some jurisdictions require 24 inches for 120V runs). Mark conduit locations on a property map in case you need to dig nearby in future years.
Safety gear: Wear gloves when working with mounting hardware, safety glasses when drilling into stone or concrete, and use an insulated ladder with rubber feet when working near power lines or during installation on sloped terrain.
Test the full system for 48 hours before considering installation complete. Trigger the sensor multiple times at different speeds and angles. Verify that notifications arrive promptly, recordings save properly, and night vision activates reliably after sunset. Adjust sensitivity settings based on real-world performance rather than default factory settings.
Keep a log of installation details, sensor serial numbers, Wi-Fi passwords, app login credentials, and mounting hardware used. When troubleshooting issues months later or upgrading components, this documentation saves hours of frustration.