


Table of Contents
ToggleMotion sensors are the backbone of most modern alarm systems, catching movement before an intruder makes it through your front door. Whether you’re upgrading an aging system or building security from scratch, understanding how these devices work, and where to place them, makes the difference between catching trouble early and relying on noise alone. This guide walks through sensor types, installation strategy, and the practical decisions that keep your home secure without false alarms every time the dog walks past.
Key Takeaways
- Alarm system motion sensors use passive infrared (PIR) technology to detect heat signatures and movement, with most residential units covering 25 to 40 feet in a cone-shaped detection pattern.
- Strategic placement at natural traffic chokepoints—hallways, staircases, and near entry doors—is more important than sensor count for effective home security coverage.
- Wireless motion sensors offer faster DIY installation with 2 to 5 year battery life, while hardwired options provide permanent power and greater reliability for large homes with potential RF interference.
- False alarms typically stem from poor placement near HVAC vents, direct sunlight, pets, or furniture obstructions rather than faulty hardware.
- Pet-immune sensors positioned at 7 feet with downward-angled coverage and dual-technology models reduce false positives while maintaining security.
- Annual maintenance—including lens cleaning, battery replacement with lithium cells only, and comprehensive sensor testing—ensures your motion detector system remains fully operational.
What Is an Alarm System Motion Sensor and How Does It Work?
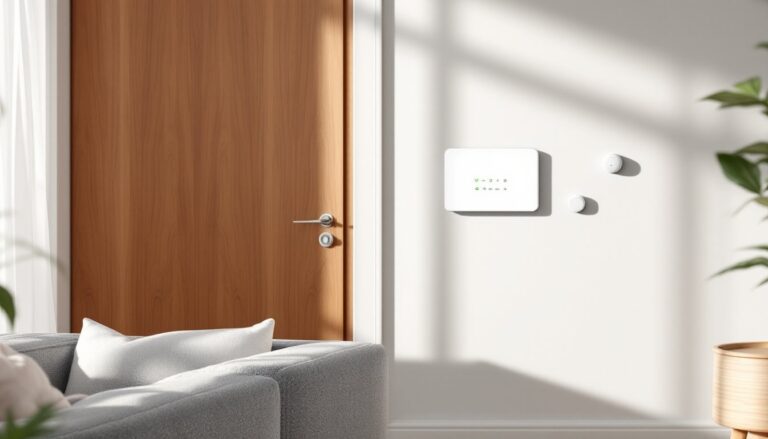
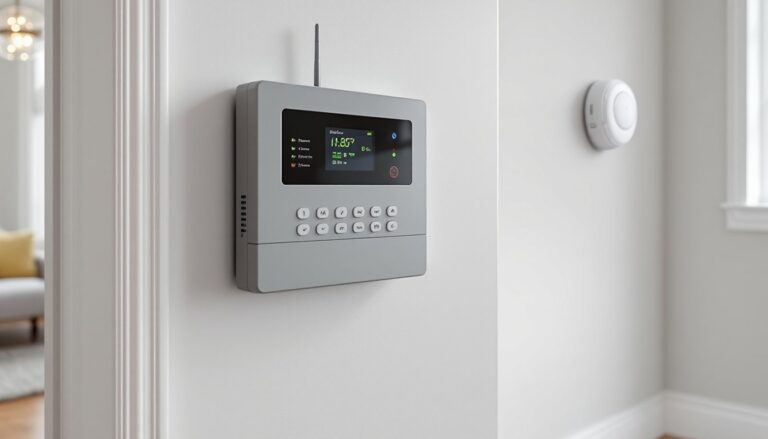
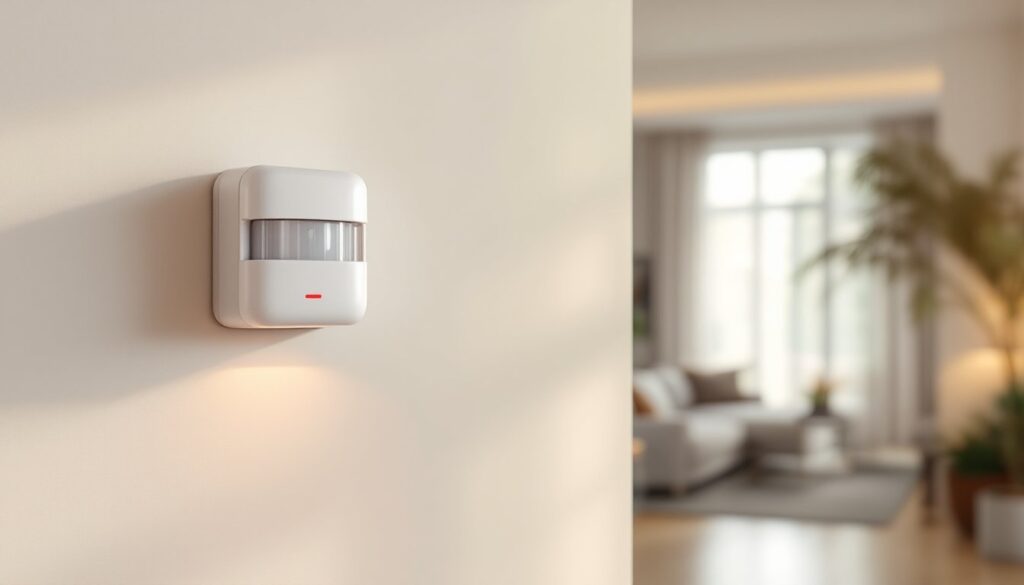
An alarm system motion sensor detects movement within a designated area and sends a signal to your security panel or monitoring station. Most residential sensors rely on infrared technology to measure changes in heat signatures, when a person or large animal moves through the detection zone, the sensor registers a spike in thermal energy and triggers an alert.
Typical detection ranges span 25 to 40 feet in a cone-shaped pattern, though wall-mounted units can cover wider angles. Sensors connect to your alarm panel via wireless radio frequency (RF) signals (usually 433 MHz or 915 MHz bands) or hardwired low-voltage wiring, depending on your system’s design.
The key to reliable operation is line-of-sight coverage, obstructions like furniture, curtains, or houseplants block the sensor’s field of view. Place units at head height (around 6 to 7 feet) and angle them toward entry points. For hardwired installations, run 18/2 or 22/4 conductor cable from the sensor back to the panel: wireless models need CR123A or AA lithium batteries that last 2 to 5 years under normal use.
Most motion sensors include a walk-test mode LED that blinks when movement is detected, making it easy to verify coverage before arming the system. Always test after installation, wave your hand through different zones and check that the panel logs each event.
Types of Motion Sensors for Home Security Systems
Passive Infrared (PIR) Sensors
PIR sensors are the workhorse of residential security. They detect infrared radiation (heat) emitted by people and animals, responding only when the heat signature changes as someone moves across the detection field. Because they’re passive, emitting no energy themselves, they draw minimal power and work reliably in most indoor environments.
PIR units typically feature a Fresnel lens (the segmented plastic cover you see on the front) that divides the detection zone into narrow beams. Movement across multiple beams triggers the alarm, reducing false positives from drifting curtains or HVAC airflow.
Limitations: PIR sensors struggle in extreme temperatures. If the ambient air is close to body temperature (95°F or higher), they lose sensitivity. They also won’t detect someone moving directly toward the sensor, only lateral motion registers. For this reason, corner placement beats center-wall mounting.
Installing smart home automation features alongside traditional sensors allows remote arming and activity logs, but PIR reliability is hard to beat for offline operation.
Microwave and Dual-Technology Sensors
Microwave (MW) sensors emit continuous microwave pulses and measure reflected energy. When an object moves through the field, the Doppler shift in the returning signal triggers the alarm. MW sensors cover larger areas than PIR units, some reach 50 feet or more, and detect motion through non-metallic barriers like drywall or glass.
Because MW sensors are active transmitters, they consume more power and cost more than PIR models. They’re also prone to false alarms from vibration, wind, or passing traffic outside windows.
Dual-technology sensors combine PIR and microwave detection in one housing. Both technologies must register movement before the alarm fires, cutting false positives dramatically. These units are ideal for high-security zones like master bedrooms or offices where reliability matters more than cost.
If you’re integrating sensors into an existing setup, many Ring Home Alarm packages support dual-tech add-ons. Check your panel’s compatibility before ordering, not all systems support higher-end sensor types.
Where to Install Motion Sensors for Maximum Protection
Strategic placement is more important than sensor count. Start by mapping your home’s natural traffic chokepoints, hallways, staircases, and rooms adjacent to entry doors. A single well-placed sensor in a hallway can cover multiple bedrooms: a poorly aimed unit in a bedroom covers almost nothing useful.
High-priority locations:
- Main hallway: Catches anyone moving between entry points and living areas. Mount at the far end, facing the most common entry door.
- Top or bottom of stairs: Forces an intruder to cross the detection zone no matter which floor they target.
- Living room corners: Angled placement covers sliding doors, windows, and pathways to other rooms.
- Basement entry: Often overlooked. Intruders prefer low-traffic areas.
Avoid kitchens, bathrooms, and laundry rooms, heat from appliances, steam, and moving water all trigger false alarms. Never aim a sensor at windows with direct sunlight: shifting light and heat cause nuisance trips.
For wired systems, plan cable runs during initial construction or use surface-mount raceway if retrofitting. Wireless sensors simplify placement but require periodic battery swaps, keep spares on hand and mark replacement dates on your calendar.
Many homeowners find success with motion sensor alarm configurations that layer detection across multiple floors. Test coverage by walking through your home at night with the system in test mode: most panels log sensor activity in real time.
Pet immunity: If you have animals under 40 pounds, look for sensors with adjustable sensitivity or pet-immune lens patterns. Position sensors higher (7 feet) and angle them downward to skip the lower portion of the room where pets move. Larger dogs and curious cats on furniture will still trip standard PIR sensors, dual-tech models with smarter algorithms handle pets better.
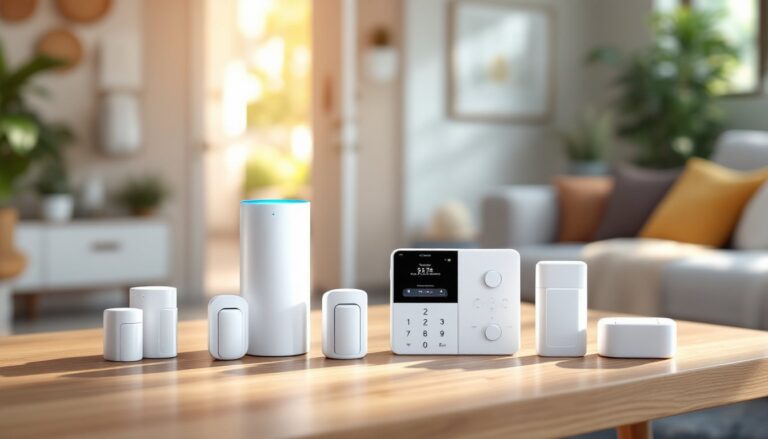
Choosing the Right Motion Sensor for Your Home
Selecting a sensor comes down to compatibility, coverage, and budget. Most alarm panels are proprietary, sensors from one brand won’t work with another’s hub. Confirm your panel model before shopping.
Wireless vs. hardwired:
- Wireless: Faster DIY install, no drilling or fishing cables. Battery life ranges from 2 to 5 years. Best for retrofits or rental properties.
- Hardwired: Permanent power, no battery anxiety, more reliable in large homes with RF interference. Requires low-voltage wiring knowledge and access to wall cavities.
For new construction or major renovations, hardwired sensors integrate cleanly. Retrofits almost always favor wireless.
Coverage range and detection angle:
Standard residential sensors cover 90 to 110 degrees horizontally and 25 to 35 feet in depth. Wide-angle models (up to 180 degrees) suit corner placement but sacrifice range. Narrow-beam sensors work for long hallways or entryways.
Check the manufacturer’s spec sheet for the detection pattern diagram, some sensors skew left or right, and knowing that helps during install.
Smart integration:
If you run a smart home platform, verify sensor compatibility. Many newer systems, like Google Home Alarm setups or ADT Home Alarm packages, support voice arming, mobile alerts, and automation triggers. Sensors can activate lights, lock doors, or start cameras when motion is detected, turning a simple alarm into a layered security response.
For those exploring affordable options, professionals often recommend checking cost estimators and project guides before committing to a full system, especially for installations that might need an electrician for hardwired runs.
Common Issues and Troubleshooting Tips
False alarms top the complaint list. Most stem from poor placement, not faulty hardware. If your sensor trips with no visible cause, check for:
- HVAC vents blowing directly on the sensor: Moving air shifts curtains, blinds, or lightweight objects.
- Sunlight through windows: Direct sun heats objects unevenly, creating phantom heat signatures.
- Pets or pests: Even small animals can trigger sensors at night when ambient temperature drops.
Move the sensor 2 to 3 feet away from problem areas and retest. For persistent issues, reduce sensitivity via your panel’s programming menu (consult your manual for zone sensitivity settings).
Weak or dead batteries are the second-most common issue with wireless sensors. Most panels display a low-battery warning 30 days before failure. Replace batteries immediately, running a sensor to full depletion often erases pairing data, forcing you to re-enroll the device.
Use lithium batteries only in wireless sensors. Alkaline cells leak, corrode contacts, and fail in temperature extremes. Keep replacement batteries stored at room temperature, not in a hot garage or cold basement.
Intermittent offline sensors usually indicate RF interference or weak signal. Metal studs, concrete walls, and dense insulation block radio signals. If a sensor repeatedly drops offline:
- Move it closer to the panel or add a wireless repeater (range extender).
- Check for nearby electronics, Wi-Fi routers, baby monitors, and cordless phones operate on overlapping frequencies.
- Replace the antenna on your panel if your system supports external antennas.
For hardwired sensors showing tamper alerts, inspect the back cover switch. Sensors include a small plunger or lever that trips if the unit is removed from the wall, useful for security, annoying if the cover is loose. Tighten mounting screws and verify the tamper switch is fully depressed.
Dead zones appear when furniture, decor, or home layout changes after initial install. Walk through each room while the system is in test mode. If a sensor no longer covers a critical pathway, remount it or add a second unit. Many AT&T Home Alarm systems and similar platforms allow up to 32 wireless zones, so adding coverage rarely maxes out capacity.
When motion detection feeds into broader home automation routines, glitches in one device can cascade. Isolate sensor issues by testing in standalone mode (disconnected from smart hubs or routines) before troubleshooting integration problems.
Final check: Review your system annually. Dust buildup on the Fresnel lens reduces sensitivity, wipe the cover with a microfiber cloth. Test each sensor, replace aging batteries, and update firmware if your panel supports it. An alarm system only works when every component does its job, don’t wait for a failure to find out a sensor went offline months ago.