


Table of Contents
ToggleHome security doesn’t start with cameras or keypads, it starts at the threshold. A door alarm system is often the first line of defense against unwanted entry, and in 2026, the options range from simple magnetic sensors to smart systems that text you when your teenager sneaks out. Whether you’re securing a rental, upgrading an older system, or just want peace of mind without a monthly monitoring contract, understanding door alarms will help you pick the right setup and install it yourself. This guide walks through the types, features, installation steps, and common pitfalls so you can secure your entryways confidently.
Key Takeaways
- A door alarm system uses magnetic contact sensors to detect unauthorized entry and send alerts via audible alarms or smartphone notifications, making it an essential first line of defense for home security.
- Wireless battery-powered door alarms ($20–$50 per sensor) offer quick DIY installation and portability, while wired systems provide permanent, tamper-resistant protection but require professional installation and low-voltage wiring.
- Prioritize high-risk entry points like front doors, back doors, and garage entries first, then expand to secondary points like basement windows and interior bedroom doors for layered security.
- Choose sensors with at least 100 dB sound output, adjustable entry delays (30–45 seconds), replaceable batteries with low-battery alerts, and weatherproofing (IP54 rating) for reliable outdoor use.
- Proper installation requires clean, dust-free mounting surfaces, correct sensor-magnet alignment (½-inch gap or less), and monthly testing to catch dead batteries and system failures before they compromise your home security.
- Door alarms work best as part of a comprehensive security strategy combined with deadbolts, outdoor lighting, smart locks, and video doorbells rather than as a standalone solution.
What Is a Door Alarm System and How Does It Work?
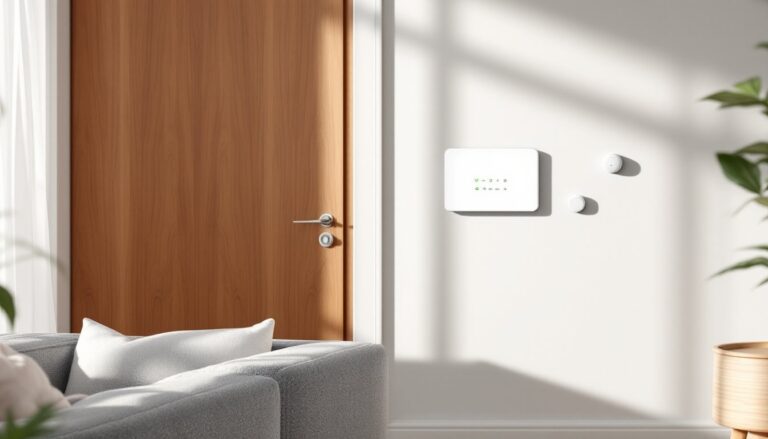
A door alarm system is a security device that detects when a door is opened and triggers an alert, usually an audible alarm, a smartphone notification, or both. The core mechanism is straightforward: a sensor mounted on the door and frame monitors contact between two components. When the door opens, the circuit breaks, and the system responds.
Most systems use magnetic contact sensors (also called reed switches). One piece containing a magnet mounts on the door, the other on the frame. When the magnet moves away from the sensor, the circuit opens and the alarm activates. This works whether the door swings in or out, and it’s reliable for decades if installed correctly.
Some advanced systems add glass-break sensors or vibration detectors to catch forced entry before the door fully opens. Others integrate with broader home security setups, feeding data to a central control panel or app. Standalone units operate independently, with battery power and onboard alarms, while integrated systems tie into wired home security networks or Wi-Fi hubs. Either way, the goal is the same: detect unauthorized entry and alert you immediately.
Types of Door Alarm Systems for Every Home
Door alarms come in several formats, and picking the right type depends on your home’s layout, your technical comfort level, and whether you want smartphone integration.
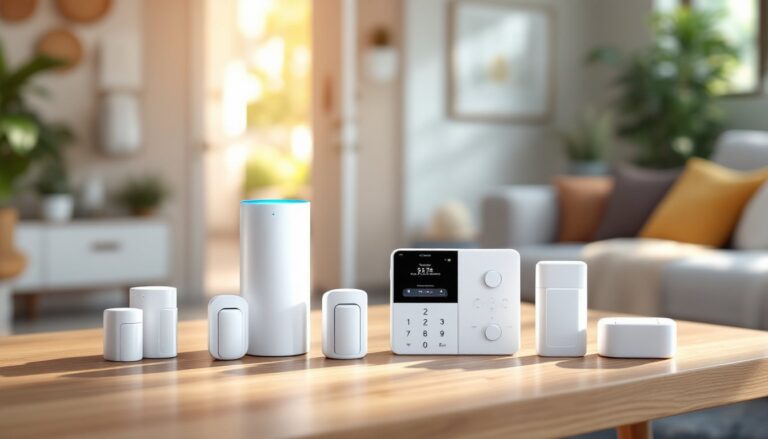
Standalone battery-powered alarms are the simplest option. These stick-on units cost $10–$30 each, require no wiring, and scream at 120+ decibels when triggered. They’re ideal for apartments, rental properties, or supplementing existing security on secondary doors. Most run on AAA or coin-cell batteries and include a magnetic sensor and siren in one compact housing. The downside? No remote alerts, and you have to be within earshot to hear them.
Wireless smart door alarms connect to Wi-Fi or a hub (like Z-Wave or Zigbee) and send push notifications to your phone. Brands like Ring, SimpliSafe, and Wyze offer sensors that pair with broader ecosystems. These systems typically cost $20–$50 per sensor and require a compatible hub or subscription for cloud features. They’re excellent for monitoring entry when you’re away, and many integrate with voice assistants and smart locks.
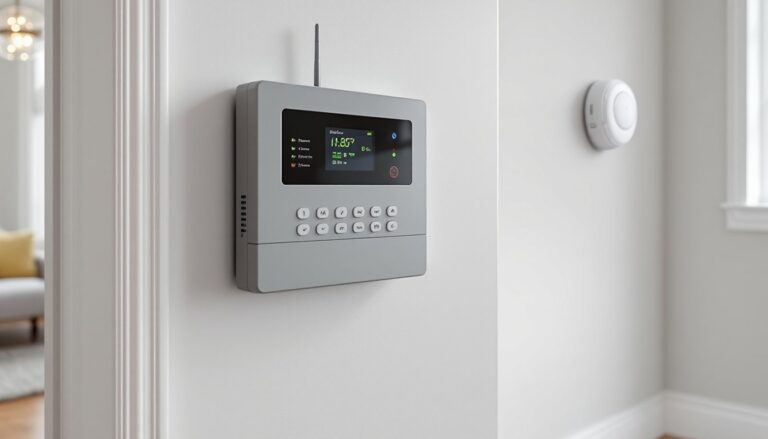
Wired systems hard-wire sensors into a central control panel, often part of a whole-home alarm setup. These are more permanent, require low-voltage wiring (typically 18–22 AWG), and are common in new construction or major renovations. They’re extremely reliable, no battery changes, no Wi-Fi dropouts, but installation is more involved. If you’re planning a comprehensive security overhaul, a wired approach offers the most stability.
Hybrid systems combine wired reliability with wireless flexibility, using battery-powered sensors that communicate with a wired panel via RF signal. This gives you the best of both worlds: easy retrofitting and centralized control.
Wireless vs. Wired Door Alarms
Wireless systems are the go-to for most DIYers. Installation takes minutes, peel, stick, sync. They’re portable, so you can take them with you when you move, and they don’t require fishing wires through walls. The trade-off is battery maintenance and potential interference from thick walls or metal doors. According to product testing from Good Housekeeping, wireless sensors typically last 1–3 years on a single battery set, depending on traffic and temperature.
Wired systems are permanent and rock-solid. Once installed, they’re invisible, tamper-resistant, and never need batteries. But you’ll need to run wire from each sensor to a control panel, which usually lives in a utility closet or basement. This isn’t a huge hurdle for new builds or if you’re comfortable drilling through studs and pulling cable, but it’s overkill for a simple rental or single-door upgrade. Wired setups also often require professional monitoring or a more complex control panel, which adds recurring costs.
Key Features to Look for When Choosing a Door Alarm
Not all door alarms are created equal. Here’s what separates a solid system from one that’ll frustrate you in six months.
Decibel rating: A useful alarm needs to be loud, aim for at least 100 dB. Anything quieter might not wake you from another floor or alert neighbors. Some units let you adjust volume or set a chime mode for everyday entry.
Tamper alerts: Better systems detect if someone tries to remove the sensor or cut wiring. This feature is standard on wired panels and higher-end wireless units.
Battery life and low-battery alerts: Wireless sensors should notify you before they die. Look for models with replaceable batteries rather than sealed units, CR2032 or AA batteries are cheapest and easiest to swap.
Sensor range and mounting flexibility: Magnetic sensors typically work when the magnet is within ½ to 1 inch of the switch. If your door has a wide gap or uneven frame, you’ll need a sensor with adjustable spacing or surface-mount brackets.
Smart integration: If you want remote alerts, check compatibility with your existing ecosystem, Alexa, Google Home, Apple HomeKit, or a dedicated security app. Some systems require a hub: others connect directly via Wi-Fi. Subscription costs for cloud storage or professional monitoring can add $10–$30/month.
Weatherproofing: Exterior doors need sensors rated for temperature swings and moisture. Look for an IP rating of at least IP54 for outdoor use.
Entry delay: This gives you time to disarm the system after opening the door without triggering a false alarm. Adjustable delay (10–60 seconds) is a must for main entries.
How to Install a Door Alarm System: A DIY Step-by-Step Guide
Installing a basic wireless door alarm takes about 15 minutes per door. Here’s the process.
Tools and materials:
- Door alarm sensor and magnet
- AAA or coin-cell batteries (if not pre-installed)
- Screwdriver (Phillips or flat, depending on model)
- Measuring tape
- Pencil
- Optional: drill with 1/16-inch bit for screw mounting
- Safety glasses if drilling
Step-by-step installation:
-
Choose the mounting side. The sensor (larger piece) goes on the door frame: the magnet goes on the door itself, aligned so they’re side-by-side when closed. Most systems work on either hinge or latch side, pick whichever has a flat, stable surface.
-
Mark the placement. Hold the sensor against the frame about 4–6 inches from the top corner of the door. Mark the screw holes (if using screws) or note the position for adhesive mounting. Position the magnet on the door so it sits directly next to the sensor with no more than ½-inch gap when closed.
-
Mount the sensor. Peel the adhesive backing and press firmly for 30 seconds, or drill pilot holes and drive the included screws. If using adhesive, clean both surfaces with rubbing alcohol first, dust and oils kill stick-on mounts.
-
Mount the magnet. Align it with the sensor and attach the same way. Double-check the gap, hold the door closed and slide a piece of paper between sensor and magnet. If it’s too loose, the alarm won’t register as closed.
-
Install batteries and sync. Insert batteries (observe polarity markings), then follow the manufacturer’s instructions to pair the sensor with your hub or app. Most systems enter pairing mode when you pull a plastic tab or press a sync button.
-
Test the system. Open and close the door several times. The alarm should trigger each time. Check notification timing if you’re using a smart system. Adjust entry delay and volume settings as needed.
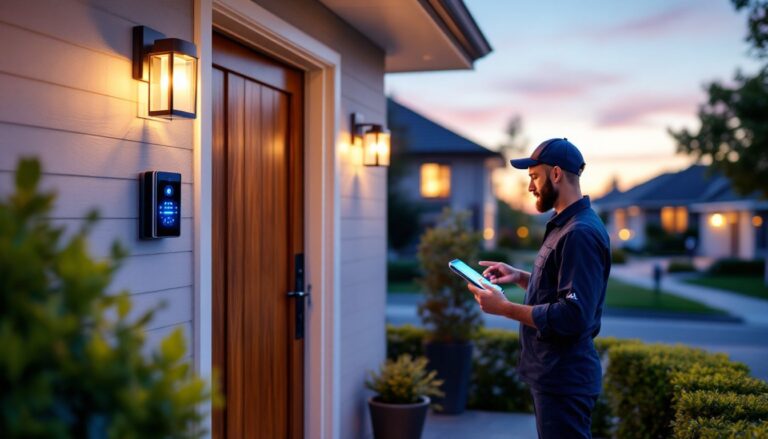
For wired systems, you’ll need to run 18/2 or 22/4 low-voltage wire from each sensor to the control panel. This involves drilling through the door frame, fishing wire through walls (often requiring access from the attic or basement), and terminating connections at screw terminals on the panel. If you’re not comfortable with this, hire an electrician or security installer, improper wiring can cause false alarms or system failure. Wired installs don’t require permits in most jurisdictions, but always check local codes, especially if you’re tying into an existing monitored system.
Best Placement Strategies for Maximum Security
Where you put your sensors matters as much as which ones you buy. Focus on high-risk entry points first, then expand as budget allows.
Primary exterior doors (front, back, garage entry) should always have alarms. These are the most common break-in points. Mount sensors on the hinge side if the door opens inward, this makes tampering harder from the outside.
Basement and ground-floor windows are secondary priorities, especially sliders or casement windows that open wide. Use window/door sensors or glass-break detectors here. Testing by CNET shows that layered sensor coverage reduces false alarms and catches entry attempts that single-point systems miss.
Interior doors to master bedrooms or offices add a second line of defense. If someone bypasses the perimeter, an interior alarm buys you warning time. These can be set to chime mode during the day and full alarm at night.
Side gates and shed doors are easy targets for tool theft. Battery-powered alarms work well here since running power or Wi-Fi is impractical. Motion-activated floodlights paired with motion sensor alarms are even better for outbuildings.
Avoid placing sensors:
- On doors that warp or swell with humidity (sensor-magnet gaps change seasonally)
- Near metal ducts or appliances that interfere with wireless signals
- On the latch side of doors with heavy weatherstripping (magnet spacing issues)
For renters or temporary setups, adhesive-mount sensors on the top corner of the door frame leave minimal marks and are easy to remove.
Common Mistakes to Avoid with Door Alarm Systems
Even simple door alarms can frustrate you if installed wrong. Here’s what to watch for.
Skipping surface prep: Adhesive sensors need clean, dry surfaces. Wipe mounting spots with rubbing alcohol and let them dry completely. Mounting on dusty trim or painted-over weatherstripping leads to sensors falling off within weeks.
Ignoring battery alerts: Wireless systems nag you for a reason. A dead sensor is a useless sensor. Set calendar reminders to check batteries annually, even if the low-battery warning hasn’t fired yet.
Mounting sensors on moving parts: Don’t attach the sensor to a door or the magnet to a frame. Each piece needs to stay fixed relative to its surface. Reversed mounting causes constant false alarms.
Setting unrealistic entry delays: A 10-second delay might sound convenient, but it’s not enough time to disarm the system if you’re carrying groceries or wrangling kids. Start with 30–45 seconds and adjust down if needed.
Overlooking environmental factors: Exterior doors expand and contract with temperature. A sensor that works in July might false-alarm in January when the gap widens. Check alignment seasonally or use sensors with wider tolerance.
Forgetting to test regularly: Alarms fail silently. Once a month, open each monitored door and confirm the alert fires. This also catches dead batteries before they leave you unprotected.
Relying solely on door alarms: Door sensors are part of a layered security strategy, not the whole solution. Combine them with deadbolts, outdoor lighting, and visibility (trim bushes near entries). Many homeowners add smart locks or video doorbells for complete coverage of main doors.
Buying incompatible components: Not all sensors work with all hubs. Before you buy six sensors, verify compatibility with your existing system or app. Return policies vary, and mismatched gear means starting over or paying twice.
Door alarms are affordable, effective, and DIY-friendly, but only if installed thoughtfully. Take the time to measure, test, and maintain your system, and it’ll give you years of reliable protection.