


Table of Contents
ToggleModern alarm systems have shed their professional-installer-only reputation. Wireless technology and smartphone integration mean homeowners can now protect their property without running cables through walls or paying installation fees that sometimes exceed the hardware cost. DIY systems ship with pre-paired components, straightforward app setup, and no monthly contracts unless monitoring is desired. This guide walks through the process from planning to testing, covering what tools are needed, where sensors should go, and how to avoid the most common installation mistakes that compromise system effectiveness.
Key Takeaways
- DIY alarm system installation eliminates professional installation fees of $100–$300 and allows homeowners complete control over sensor placement and future expansions without contracts.
- Modern wireless alarm systems require only basic tools like a cordless drill and level, making installation accessible to homeowners with no electrical license or specialized technical skills.
- Strategic sensor placement—door/window sensors on all exterior entries, motion detectors 6–8 feet high in main areas, and outdoor cameras angled downward—is critical to system effectiveness and prevents false alarms.
- Before relying on your alarm system, run a complete walk test by arming the system and triggering each sensor to confirm all components communicate properly with the hub.
- Check local building department requirements, as some municipalities require alarm permits before activation, with fines exceeding $500 for unpermitted systems in certain areas.
Why Install Your Own Home Alarm System?
Professional installation typically runs $100–$300 for a basic system, plus potential service call fees if adjustments are needed. DIY systems eliminate that upfront cost entirely. The homeowner retains complete control over sensor placement, component choices, and future expansions without scheduling appointments or paying hourly rates.
Modern wireless systems require no drilling through studs or fishing wire through finished walls. Components communicate via RF signals (usually 433 MHz or proprietary frequencies), Z-Wave, Zigbee, or Wi-Fi. Battery-powered sensors mount with adhesive strips or a single screw. The control panel plugs into standard 120V outlets with battery backup.
Flexibility is another advantage. Homeowners can start with door/window sensors and add motion detectors or cameras as budget allows. No contract locks them into a specific monitoring service, many systems support self-monitoring via smartphone app, third-party monitoring, or optional professional monitoring on month-to-month terms.
Skill level: Basic DIY comfort is sufficient. If someone can mount a smoke detector and navigate smartphone settings, they can install an alarm system. No electrical license or special tools required beyond a drill and level.
What You’ll Need Before You Start
Tools
- Cordless drill with Phillips and flathead bits
- Level (4-foot or torpedo)
- Tape measure
- Pencil for marking holes
- Wire stripper (only if hardwiring control panel to AC, uncommon in wireless systems)
- Stepladder for ceiling-mounted motion sensors
- Smartphone or tablet with the system’s app installed
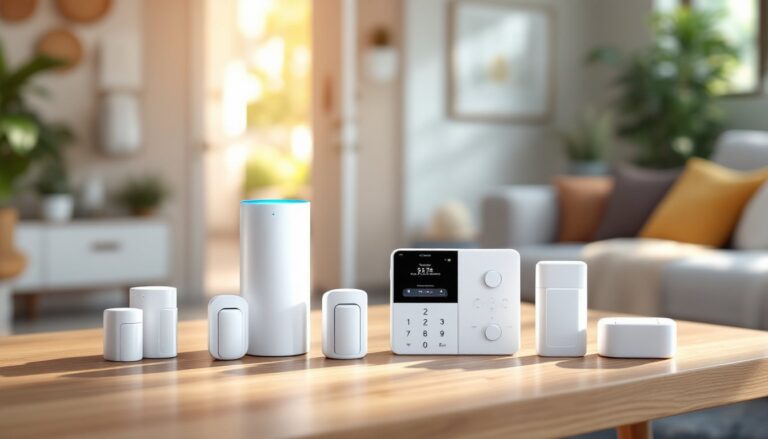
Materials & Components
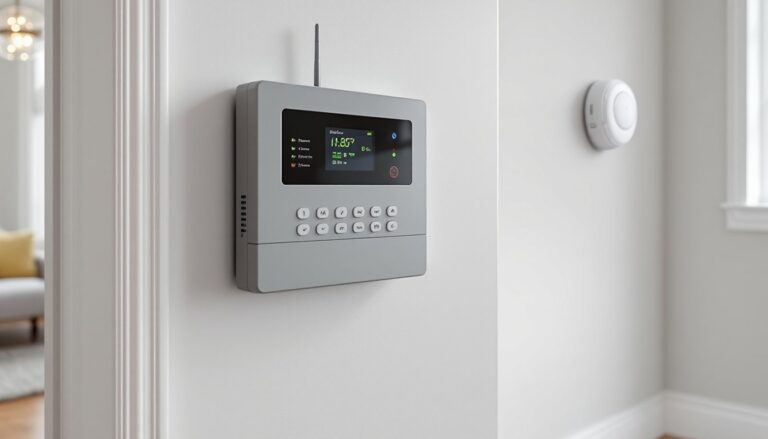
- Control panel/hub (brain of the system: connects sensors to internet and triggers alarms)
- Door/window sensors (magnetic contact switches: plan one per exterior entry and high-risk windows like ground-floor or accessible second-story)
- Motion detectors (passive infrared or dual-tech: typically one per 500–800 square feet of coverage)
- Wireless cameras (optional: indoor and outdoor models have different weatherproofing requirements)
- Keypad (wired or wireless: placed near main entry for arming/disarming)
- Siren/alarm (many hubs include built-in, but external piezo sirens rated 85+ dB improve deterrence)
- Window decals and yard signs (psychological deterrent: included with most kits)
Pre-Installation Planning
Walk the property perimeter and note every entry point. Ground-floor windows, basement egress windows, sliding glass doors, garage side doors, and the main entry all need coverage. Wired systems offer tamper resistance but demand more labor: wireless systems trade slight vulnerability to jamming (rare in residential settings) for installation speed.
Check the hub’s range specifications. Most wireless hubs cover 150–300 feet in open air. Brick walls, metal siding, and large appliances reduce effective range. If the property exceeds the hub’s reach, plan for a range extender or a second hub zone.
PPE: Safety glasses when drilling overhead, and work gloves when handling outdoor cameras with sharp mounting brackets.
Step-by-Step Installation Process
Setting Up Your Control Panel
-
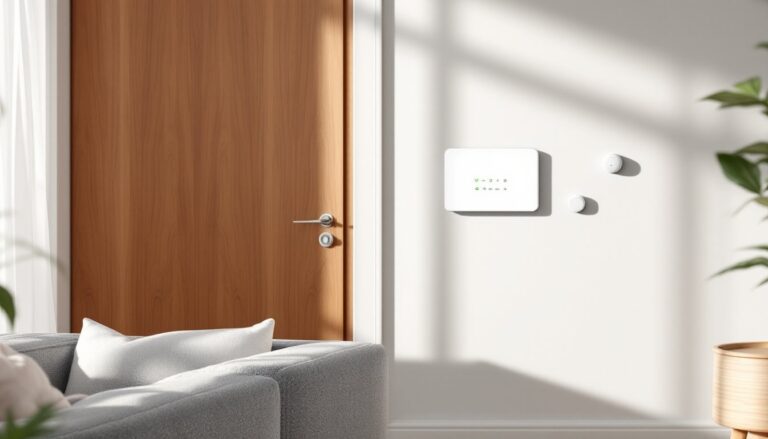
Choose the hub location. It should be central to minimize wireless distance to sensors, near the home’s internet router (or within Wi-Fi range), and protected from view to prevent tampering. Utility closets, basement corners, or a central hallway closet work well. Avoid garages (temperature extremes affect battery backup) or exterior walls where RF signals must penetrate more material.
-
Mount or place the hub. Many sit on a shelf: some mount to the wall. If wall-mounting, use the included template to mark screw holes. Drill pilot holes with a 1/8-inch bit (or appropriate size for included anchors). Secure with drywall anchors if not hitting a stud.
-
Connect power. Plug the AC adapter into a dedicated outlet (not a switched outlet) and insert the backup battery (usually 4 AA or a rechargeable lithium pack). The hub will boot and display status LEDs.
-
Pair the hub to Wi-Fi. Open the manufacturer’s app, create an account, and follow the on-screen pairing process. Most systems use WPA2 encryption: ensure the router supports 2.4 GHz if the hub isn’t dual-band compatible. A strong, unique password is non-negotiable, default credentials are a security liability.
-
Test hub connectivity. Trigger a test alert from the app to confirm cloud communication is active.
Installing Door and Window Sensors
-
Clean the mounting surface. Wipe the door/window frame and adjacent wall or frame edge with isopropyl alcohol to ensure adhesive strips bond properly. Dust and oils cause sensors to fall within weeks.
-
Position the sensor. The sensor body mounts on the fixed frame: the magnet mounts on the moving door or window. Maximum gap is typically ½ inch to 1 inch when closed, check the spec sheet. Mark the top corner of the door frame (hinged side, opposite the handle) or the top rail of a double-hung window.
-
Attach with adhesive or screws. Peel the 3M adhesive backing and press firmly for 30 seconds. For exterior doors or high-traffic entries, reinforce with a single screw through the sensor’s mount hole into the frame.
-
Align the magnet. Place the magnet on the door or window so it sits directly beside the sensor body’s reed switch indicator (often a small line or icon on the sensor). The gap when closed should be ⅛ inch to ½ inch. Test by opening and closing, most sensors have an LED that blinks when the magnetic field is broken.
-
Pair to the hub. Put the hub in pairing mode via the app, then trigger the sensor (open the door) or press the sensor’s pairing button. The app will confirm enrollment and prompt for a custom name (“Front Door,” “Master Bedroom Window”).
-
Repeat for all entries. Prioritize exterior doors, then first-floor windows, then basement windows. Second-story windows are lower priority unless accessible via a roof, deck, or tree.
Placing Motion Detectors and Cameras
Motion Detectors:
-
Identify coverage zones. Mount detectors in high-traffic areas like hallways, staircases, and large rooms. A typical passive infrared (PIR) sensor covers a 90- to 110-degree cone with a 25- to 40-foot range. Avoid pointing them at windows (sunlight and headlights cause false triggers), HVAC vents (warm air flow triggers PIR), or toward large pets’ typical paths if the sensor isn’t pet-immune.
-
Height matters. Install motion detectors 6 to 8 feet above the floor for optimal horizontal sensing. Higher placement reduces pet false alarms but may miss crawling intruders (rare outside extreme scenarios). Use a level to ensure the detector isn’t tilted, angled sensors can miss zones or trigger on ceiling fan movement.
-
Mount the detector. Mark holes with the template, drill pilot holes, insert anchors, and screw the backplate to the wall. Snap the sensor body onto the backplate and pair it to the hub. Walk through the coverage area to verify the sensor’s LED blinks or the app registers activity.
Cameras:
-
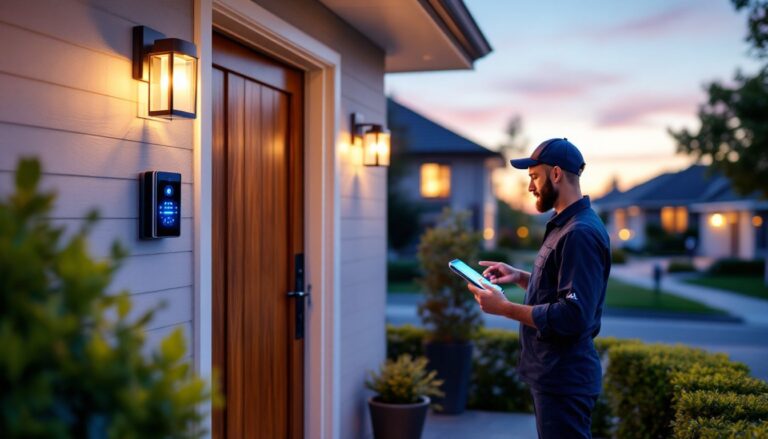
Plan camera angles. Outdoor cameras should cover entry points (front door, garage, back patio) with a clear view of faces at a distance of 10 to 15 feet. Indoor cameras monitor main living areas or safe rooms. According to reviews from Tom’s Guide, placement at a downward angle improves facial recognition accuracy.
-
Weatherproofing for outdoor cameras. Look for an IP65 rating or higher for exposure to rain and dust. Route power cables through a small hole drilled at a downward angle to prevent water intrusion. Seal the hole with silicone caulk.
-
Mount securely. Outdoor cameras often include a threaded mount and lag bolts for siding or brick. Drill pilot holes appropriate for the substrate, ⅛-inch for wood siding, masonry bit for brick or concrete. Tighten until snug but not over-torqued (which can crack plastic housings).
-
Pair and configure. Add cameras to the app, adjust motion sensitivity zones to exclude street traffic or swaying trees, and enable notifications. Test night vision by covering the lens briefly, IR LEDs should activate.
Safety note: When drilling into exterior walls, check for electrical wiring and plumbing inside. A stud finder with AC detection helps avoid costly mistakes. Always wear safety glasses when drilling overhead or into masonry.
Testing and Troubleshooting Your System
Once all components are installed, run a walk test before relying on the system. Arm the system in “stay” or “away” mode and walk through the home, opening doors and windows and passing in front of motion sensors. Each should trigger an alert in the app or on the keypad. If a sensor fails to register, check battery orientation, confirm it’s within the hub’s wireless range, and verify pairing status in the app.
Test the siren. Most systems allow a manual test mode that sounds the alarm for a few seconds. Exterior sirens should reach 85 dB or higher, audible from the street. If neighbors complain, that’s a feature, not a bug.
Check cellular or broadband backup if the system supports it. Disconnect the router and confirm the hub switches to cellular failover (if equipped) or that alerts still reach the monitoring service. Not all DIY systems include this feature: it’s common in professionally monitored plans but rare in self-monitored setups.
Common issues:
- Sensor won’t pair: Replace the battery (even if new: factory batteries are often weak). Move the hub closer temporarily, pair the sensor, then move the hub back.
- False alarms from motion detectors: Adjust sensitivity in the app, reposition away from windows or vents, or enable pet-immune mode if available.
- Cameras offline: Confirm Wi-Fi signal strength at the camera location (use a phone’s Wi-Fi analyzer app). Add a mesh node or Wi-Fi extender if signal is weak. Outdoor cameras sometimes require a 2.4 GHz band: disable band steering on the router if it forces 5 GHz.
- Keypad unresponsive: Check battery backup in the keypad (many are wireless). Confirm the keypad is within 50 feet of the hub without major obstructions.
Re-test the system monthly. Batteries in wireless sensors last 1–3 years depending on trigger frequency: replace low-battery components promptly. Smart home integrations can automate testing reminders via voice assistant routines.
If the system will be professionally monitored, call the monitoring center after installation to run a supervised test. They’ll confirm signals are received and walk through alarm protocol. Keep the monitoring center’s phone number and account PIN accessible but secure.
Permit check: Most jurisdictions don’t require permits for DIY alarm installation (it’s low-voltage, non-structural work). But, some municipalities require alarm permits before the system goes live, especially if connected to police/fire dispatch. Contact the local building department or police non-emergency line to confirm. Fines for unpermitted alarms can reach $500+ in some areas.