


Table of Contents
ToggleA decent deadbolt won’t stop someone who really wants in. That’s where motion sensor alarm systems earn their keep, they detect movement before an intruder reaches your valuables, your family, or your peace of mind. These sensors form the backbone of modern security setups, whether wired into a full panel or running on batteries in a rental. The technology’s come a long way from the clunky detectors that triggered false alarms every time the cat walked by. Today’s systems distinguish between pets, people, and passing headlights with surprising accuracy. This guide breaks down how they work, which type fits your space, and how to install them without hiring help.
Key Takeaways
- Motion sensor alarm systems detect movement across 60 to 90-degree detection zones by using passive infrared technology to identify heat signatures, protecting entire rooms where contact sensors alone would fail.
- Passive infrared (PIR) sensors are the most affordable and reliable option for residential spaces, costing $25 to $60 per unit and consuming minimal power with battery life lasting 1 to 3 years.
- Strategic sensor placement at choke points like hallways, staircases, and basement doorways outperforms multiple poorly positioned units, and mounting sensors 6 to 8 feet high aimed slightly downward maximizes coverage while keeping them above pets.
- Dual-technology sensors combining PIR and microwave detection eliminate false alarms in challenging environments like garages and attics where temperature swings exceed 15°F or airflow interferes with PIR-only systems.
- Installing a motion sensor alarm system can qualify homeowners for 5% to 20% insurance discounts and prompts most burglars to leave within seconds of entry, as law enforcement data shows they spend only 8 to 12 minutes inside homes.
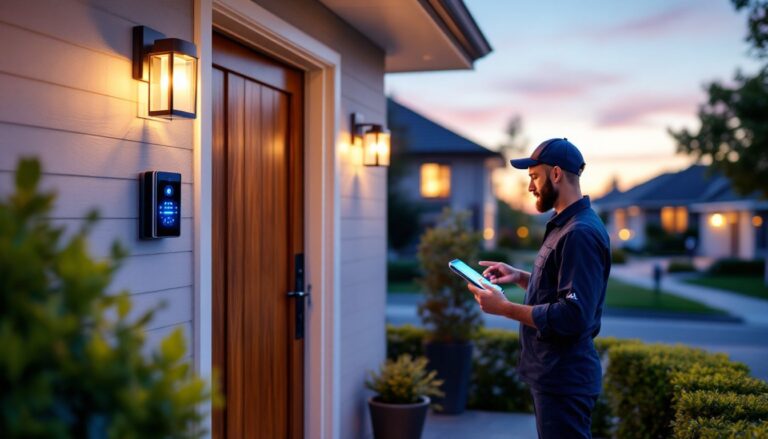
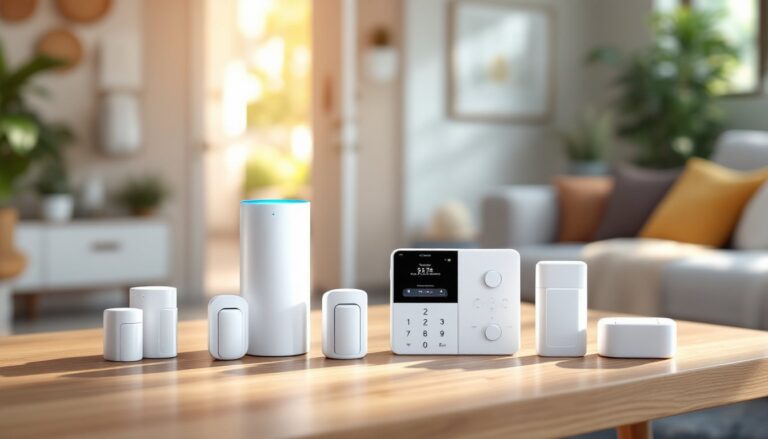
- Wireless motion sensor alarms install in under 10 minutes with adhesive strips or two screws, making them ideal for renters, while wired sensors provide unlimited battery life and zero signal interference for permanent installations.
What Is a Motion Sensor Alarm System and How Does It Work?
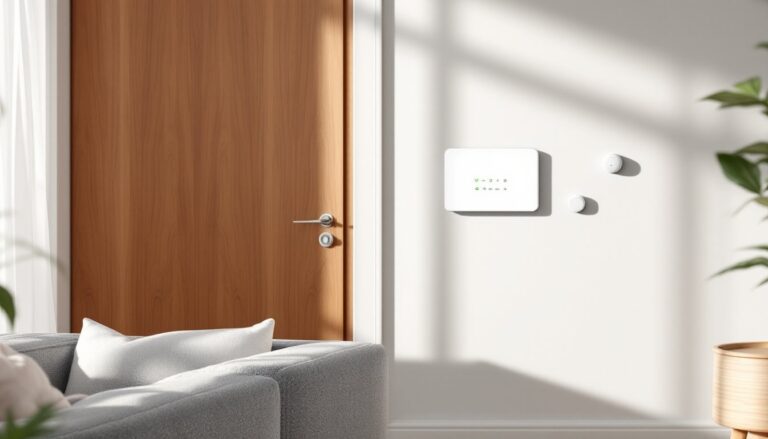
A motion sensor alarm system monitors designated areas for movement and triggers alerts when it detects activity. The sensor acts as an electronic tripwire, watching for changes in its field of view, usually a 60 to 90-degree cone extending 15 to 40 feet depending on the model.
Most residential systems use passive infrared (PIR) technology, which detects heat signatures from warm bodies moving through cooler backgrounds. When you walk past, the sensor registers the temperature differential between you and the wall behind you. That change triggers the alarm circuit, which then sends a signal to the control panel.
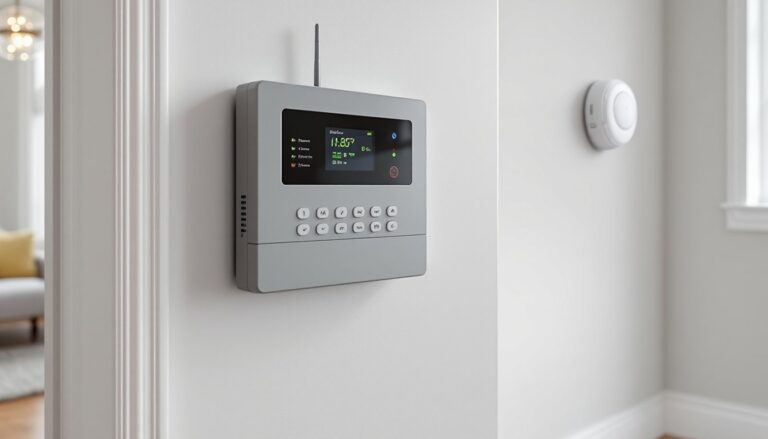
The control panel is the brain. It decides whether to sound a siren, send a push notification to your phone, or contact a monitoring service. Modern panels connect via Wi-Fi or Z-Wave mesh networks, though older wired home alarm systems run on dedicated low-voltage circuits.
Entry delays prevent false alarms. Most systems give you 30 to 60 seconds after opening a door to disarm before sounding the main siren. Exit delays work the same way, you get a window to leave without tripping your own alarm.
Some sensors include pet immunity features, which ignore motion from animals under 40 to 80 pounds by adjusting detection zones or filtering out low-level heat signatures. It’s not foolproof, but it cuts down on 2 a.m. alerts from your golden retriever.
Key Benefits of Installing Motion Sensor Alarms in Your Home
Coverage beats contact sensors alone. Door and window sensors only trigger when someone opens an entry point, they’re blind to intruders who break a window or crawl through a basement opening. Motion sensors cover entire rooms or hallways, catching movement no matter how someone got in.
Energy efficiency is an underrated perk. Integrated systems can trigger lights when motion’s detected, then shut them off after inactivity. That means hallways and staircases stay dark until needed, cutting phantom power draw.
They work in spaces where contact sensors fail. Open-concept homes, rooms with dozens of windows, or finished basements with egress wells become impractical to protect with individual sensors on every opening. A single motion sensor alarm positioned correctly can monitor an entire lower level.
Response speed matters. Law enforcement data shows burglars spend an average of 8 to 12 minutes inside a home. An alarm that sounds within seconds of entry often prompts them to leave immediately, most don’t stick around to find out if it’s monitored.
Insurance companies notice, too. Many carriers offer 5% to 20% discounts on homeowner’s policies when professionally monitored alarm systems are installed. Even unmonitored systems can qualify for smaller reductions. Check with your insurer before buying, they may have specific requirements for equipment or installation.
Flexibility in placement beats hardwired-only systems. Battery-powered wireless sensors mount in minutes with two screws or adhesive strips. That makes them ideal for renters or anyone not ready to fish wires through walls.
Types of Motion Sensor Technology Explained
Not all motion sensors work the same way. The technology inside determines accuracy, cost, and best-fit applications.
Passive Infrared (PIR) Sensors
PIR sensors are the workhorses of residential security. They detect infrared radiation, the heat your body emits. The sensor contains a pyroelectric element split into two halves. When you move across its field of view, one half detects heat before the other, creating a differential signal that trips the alarm.
They’re passive because they don’t emit energy, they just listen for heat changes. That makes them cheap to run. Most PIR units pull 0.5 to 2 watts, and battery-powered versions last 1 to 3 years on a single set of lithium cells.
Fresnel lenses, those segmented plastic domes on the front, divide the sensor’s field into detection zones. Each facet of the lens focuses infrared light onto the sensor, creating a pattern of active and inactive zones. Movement across those zones is what triggers detection, not just standing still in front of it.
PIR sensors struggle with ambient temperature. On sweltering days when room temps approach body temperature, sensitivity drops, there’s less differential to detect. They also won’t trigger through glass, since windows block infrared wavelengths.
Microwave and Dual-Technology Sensors
Microwave (MW) sensors emit continuous pulses of microwave radiation at 5.8 GHz and measure reflections. Movement changes the reflected signal’s frequency, a principle called the Doppler effect. They’re more expensive but see through walls, glass, and thin barriers, which makes them prone to false alarms from passing traffic or tree branches.
Most pros reserve them for commercial applications or pair them with PIR in dual-technology sensors. These require both PIR and microwave detection to trigger an alarm, drastically cutting false positives. According to experts at Popular Mechanics, dual-tech units are the gold standard for garages, workshops, and other spaces with temperature fluctuations or airflow that confuses PIR-only sensors.
Ultrasonic sensors work similarly to microwave but use sound waves around 25 to 40 kHz. They’re less common in residential settings, ultrasonic frequencies can disturb pets and don’t penetrate barriers well. Expect them in automatic door openers and commercial lighting, not home security.
Choosing the Right Motion Sensor Alarm for Your Space
Match the sensor to the room. PIR sensors handle bedrooms, living rooms, and hallways just fine. They’re affordable, reliable, and easy to position. Reserve dual-technology units for garages, attics, or enclosed porches where temperature swings exceed 15°F or airflow from HVAC vents might cause drift.
Detection angle and range determine placement. Wide-angle sensors (90 to 110 degrees) work in corners, covering two walls at once. Narrow-angle models (40 to 60 degrees) suit long hallways or corridors. Most manufacturers spec range at 25 to 35 feet for PIR, but real-world performance depends on mounting height and obstruction.
Mount PIR sensors 6 to 8 feet high, aimed slightly downward. That height maximizes coverage while keeping them above pets. Ceiling mounts work for open-concept spaces, they offer 360-degree coverage but cost more and require fishing wire or strong adhesive mounts.
Wired vs. wireless comes down to control panel compatibility and installation effort. If you’re adding to an existing panel or building new construction, wired sensors on 22-gauge, 4-conductor wire offer unlimited battery life and zero signal interference. For retrofits or rentals, wireless units on 433 MHz or Z-Wave frequencies install in under 10 minutes.
Consider smart home integration. Systems that tie into Google Home alarm platforms or similar ecosystems let you automate lights, locks, and thermostats alongside security. A motion trigger at 3 a.m. can turn on pathway lighting and start recording from connected cameras, features standalone sensors can’t deliver.
Pet immunity thresholds vary. If you have large dogs, verify the sensor’s weight cutoff. Budget models top out at 40 pounds, while commercial-grade units handle up to 80 to 100 pounds. Shape matters, too, sensors detect body mass, so a long dog might trigger where a shorter, heavier one won’t.
Check for tamper switches. Quality sensors include a mechanical switch that trips if someone pries the cover off or yanks the unit from the wall. That signal reaches the panel immediately, even if the system isn’t armed.
Budget $25 to $60 per wired PIR sensor, $35 to $80 for wireless PIR, and $75 to $150 for dual-technology units. Prices fluctuate with supply chains and feature sets, but those ranges held steady through early 2026.
DIY Installation Tips for Motion Sensor Alarm Systems
Read the panel’s compatibility list before buying sensors. Not all devices play nice with all panels. DSC, Honeywell, and 2GIG systems dominate the DIY market, but each has proprietary wireless protocols. A Honeywell Home Alarm panel won’t learn a Z-Wave sensor without an additional translator module.
Placement beats quantity. One sensor in the right spot outperforms three poorly positioned units. Target choke points, hallways between bedrooms and main living areas, staircase landings, or basement doorways. Avoid aiming sensors at windows, HVAC vents, or heat sources like fireplaces and radiators.
Test walk patterns before final mounting. Tape the sensor in place and walk through detection zones from multiple angles. Verify it triggers consistently without delays longer than 2 seconds. If response lags, the angle’s wrong or you’re too far from the panel (wireless) or splice point (wired).
For wired installs, follow NEC Class 2 guidelines even though alarm circuits are low-voltage. Staple wire every 16 inches along studs, keep it 1.25 inches back from stud edges to avoid drywall screws, and use grommets through drilled holes. Don’t run security wire in the same conduit as AC lines, interference causes intermittent faults.
Wireless sensors need clear paths to the panel. Drywall, wood studs, and insulation barely affect 433 MHz or Z-Wave signals, but metal ductwork, foil-backed insulation, and cast-iron plumbing can block or reflect RF. If a sensor shows weak signal or fails to check in, relocate it or add a wireless repeater halfway between sensor and panel.
Enable test mode during setup. Most panels let you walk around triggering sensors without sounding the siren, the panel chirps or flashes an LED instead. Use this to dial in angles and confirm the system logs each event.
Battery management matters for wireless installs. Mark battery replacement dates inside the sensor cover with a Sharpie. Alkaline cells last 1 to 2 years: lithium stretches that to 3 to 5 years. Replace them on a schedule, not when the low-battery warning chirps, those alerts start weeks before failure, but waiting risks a dead sensor during a break-in.
Some jurisdictions require permits for monitored alarm systems. Check with your local building department or fire marshal. Permits usually cost $25 to $100 annually and sometimes mandate false-alarm fines after a certain number of unverified dispatches. Unmonitored systems rarely need permits, but verify anyway.
Wear safety glasses when drilling into walls, dust and debris are guaranteed. Use a stud finder to avoid hitting electrical or plumbing runs. If you’re fishing wire through finished walls, a flex bit or glow rod kit beats cutting access holes every four feet.
For top-tier guidance on complete systems that integrate motion sensors with other devices, Tom’s Guide maintains an updated ranking of DIY security systems with user reviews and pro testing.
Document your install. Snap photos of wire runs before closing up walls, note which sensor controls which zone in the panel, and keep a printed copy of all access codes and installer settings. Future troubleshooting, or the next homeowner, will thank you.
For battery-powered wireless sensors, check home alarm battery guidance to understand cell types, shelf life, and replacement schedules that keep your system online. And if you’re exploring connected platforms, research from Digital Trends offers hands-on reviews of smart home ecosystems that integrate motion sensors with lights, locks, and cameras.