

Table of Contents
ToggleA home security camera system installation service can cost upward of $1,200 or more depending on camera count and complexity, but with the right tools and approach, many homeowners can handle security camera install tasks themselves. Modern wireless and PoE (Power over Ethernet) systems have simplified the process significantly compared to legacy analog setups. Whether installing outdoor security cameras on eaves and soffit, or mounting indoor units for entry monitoring, the fundamentals remain consistent: secure mounting, clean power routing, proper angle coverage, and network integration. This guide walks through the full security camera installation process, from choosing the right system to avoiding the most common DIY mistakes that compromise both function and safety.
Key Takeaways
- Security camera installation can cost $1,200 or more professionally, but DIY installation of a four-camera system can save $600–$1,000 in labor while giving you full system control.
- PoE (Power over Ethernet) systems offer the most reliable long-term solution with high-resolution streams, while wireless Wi-Fi cameras provide easier security camera installation for retrofits but depend on strong signal strength.
- Proper camera placement at 8–10 feet high prevents vandalism and tampering, with overlapping fields of view to eliminate coverage gaps at entry points and vulnerable areas.
- Essential tools and materials—including masonry bits, fish tape, cable testers, and weatherproof sealants—must be gathered upfront to ensure code-compliant work and prevent costly mid-project delays.
- Always test camera angles and night vision before permanently sealing walls, weatherproof all outdoor cable entries with silicone, and verify local building codes to avoid violations and warranty issues.
- Common installation mistakes like mounting cameras too low, ignoring Wi-Fi signal strength, and skipping weatherproofing can compromise both functionality and long-term system performance.
Why Install Security Cameras at Your Home
Security cameras serve multiple roles beyond deterring theft. They provide verifiable documentation for insurance claims, help monitor package deliveries, and allow remote supervision of children, pets, or service personnel when homeowners are away. Studies consistently show that visible cameras reduce break-in attempts, particularly when placed at obvious entry points.
For DIY-minded homeowners, installing cameras personally offers cost savings and customization. Professional security camera installation near me services typically charge $150 to $250 per camera for labor alone, excluding equipment. A self-installed four-camera system can save $600–$1,000 in labor costs, and the homeowner gains familiarity with the system’s operation and troubleshooting.
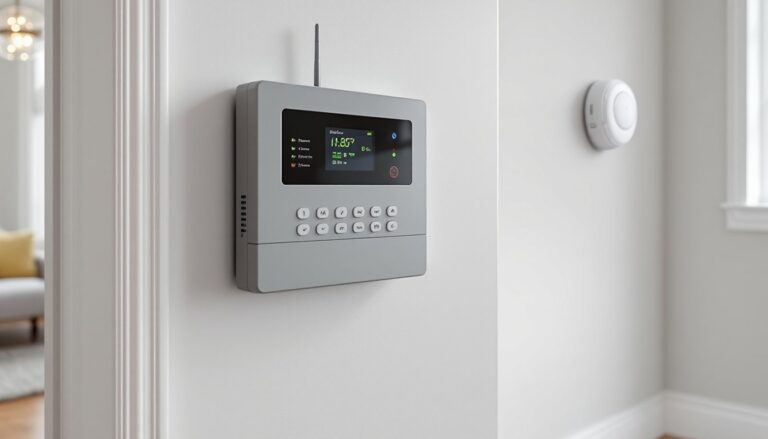
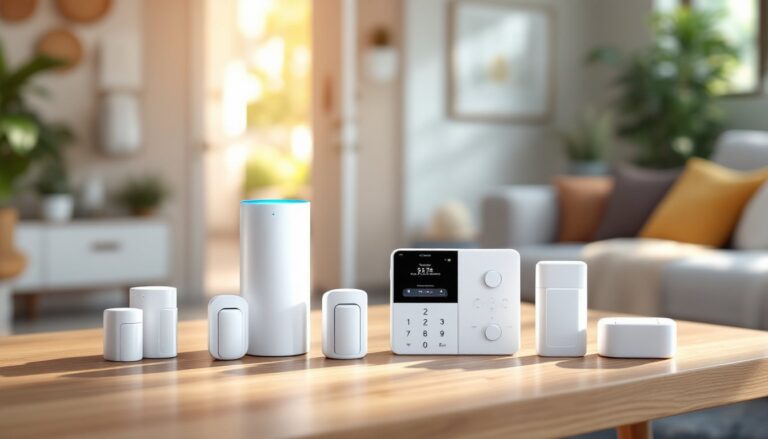
Modern camera systems integrate with home automation platforms, enabling motion-triggered lights, doorbell chimes, and alarm system monitoring companies to create layered security. When selecting a system, consider whether ongoing alarm system monitoring companies or cloud storage fees fit the budget, or if local NVR (network video recorder) storage is preferable for privacy and cost control.
Choosing the Right Security Camera System for Your Property
Three primary system architectures dominate the residential market: wired PoE, wireless Wi-Fi, and battery-powered. Each has distinct installation requirements and trade-offs.
PoE (Power over Ethernet) systems run a single Cat5e or Cat6 cable to each camera, delivering both power and data. They’re reliable, support high-resolution streams without compression artifacts, and eliminate battery swaps. Installation requires running cable through walls, attics, or conduit, which increases labor but provides the cleanest long-term solution. PoE cameras connect to an NVR or PoE switch, typically located in a utility room or basement.
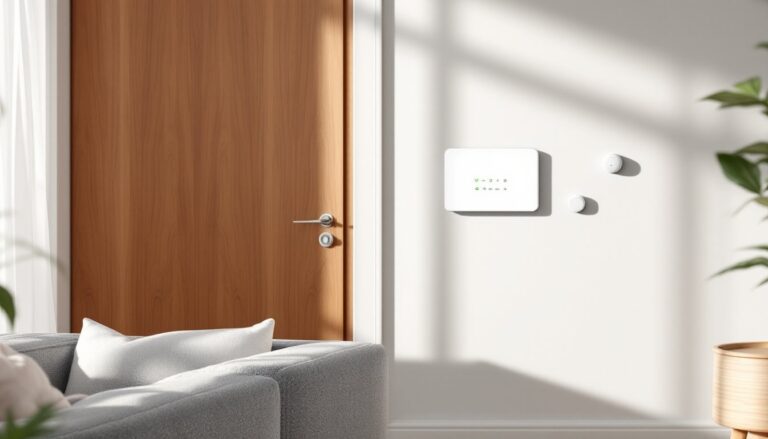
Wireless Wi-Fi cameras simplify home security camera installation by eliminating data cabling, but they still need a power source, either a nearby outlet or low-voltage transformer. They’re ideal for retrofits where fishing cable isn’t feasible, but performance depends on strong Wi-Fi signal strength. Expect occasional dropouts in homes with thick masonry walls or metal siding.
Battery-powered wireless cameras offer the easiest camera security installation, mounting with two screws and no wiring. Battery life ranges from 3 to 12 months depending on motion frequency. They’re best for low-traffic areas or temporary monitoring, but frequent recharging can become a chore on multi-camera setups.
For outdoor security camera installation near me projects, prioritize cameras with an IP65 or IP66 rating for weather resistance, infrared or color night vision, and a wide field of view (100–130 degrees). Indoor cameras can use lower IP ratings but should still handle humidity if mounted near bathrooms or kitchens.
When comparing security camera companies near me or evaluating online systems, check for local storage options (SD card or NVR), ONVIF compatibility (allows mixing brands), and whether cloud fees are mandatory or optional. Some platforms lock essential features, like person detection or clip saving, behind subscription paywalls.
Essential Tools and Materials for Camera Installation
Gathering the right tools upfront prevents mid-project trips to the hardware store and ensures clean, code-compliant work.
Tools:
- Cordless drill/driver with bits for wood, masonry, and metal (depending on mounting surface)
- 1/4″ and 5/16″ masonry bits if mounting to brick, stucco, or concrete block
- Stud finder (magnetic or electronic) to locate framing for secure mounts
- Fish tape or pull rods for running cable through walls and attics
- Wire strippers and RJ45 crimping tool (for PoE installs requiring custom cable lengths)
- Ladder rated for your working height: extension ladders for two-story eaves
- Level (torpedo or digital) to ensure cameras aren’t canted
- Voltage tester or multimeter to verify low-voltage transformer output
- Hole saw or spade bit (typically 3/4″ or 1″) for drilling cable pass-throughs
- Caulk gun and exterior-grade silicone for sealing outdoor penetrations
Materials:
- Camera mounting hardware (usually included, but verify screw length matches your surface thickness)
- Cable: Cat6 for PoE (rated for outdoor use if exposed), or 18/2 low-voltage wire for 12V DC cameras
- Conduit (1/2″ or 3/4″ PVC or metal EMT) if code requires or for exposed outdoor runs
- Wire staples or cable clips for securing runs in attics or along joists
- Junction boxes (weatherproof if outdoor) for splice points or power connections
- Wall anchors (plastic or metal toggles) if mounting to drywall without stud backing
- Cable testers (RJ45 or continuity tester) to confirm connections before sealing walls
Safety Gear:
- Safety glasses to protect from drilling debris
- Work gloves when handling metal conduit or rough-cut cable
- Dust mask or respirator if drilling masonry or working in dusty attics
- Non-conductive ladder if working near overhead power lines
If the installation involves running cable through finished walls or near electrical wiring, local building codes may require a permit or licensed low-voltage installer. Check with your jurisdiction’s building department, security camera system installation service projects that alter building envelope (drilling exterior walls) often need inspection to maintain energy code compliance and vapor barrier integrity.
Step-by-Step Installation Process
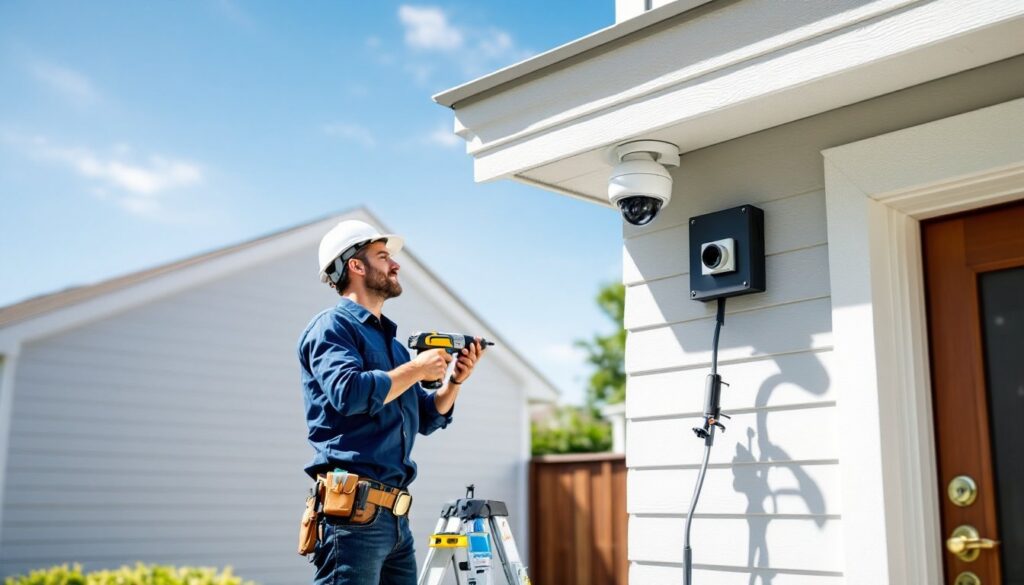
Mounting and Positioning Your Cameras
1. Plan camera placement on paper first. Walk the property perimeter and note entry doors, windows, driveways, and blind spots. Overlap fields of view slightly to eliminate coverage gaps. According to proven security camera placement strategies, mounting cameras 8–10 feet high balances accessibility for maintenance with reduced tampering risk.
2. Mark mounting holes. Hold the camera bracket against the wall or soffit, use a level to confirm alignment, and mark screw locations with a pencil. For wood siding or trim, aim to hit a stud or rafter tail for solid purchase. On masonry or stucco, drill pilot holes with a masonry bit and install plastic or lead anchors.
3. Drill cable entry holes. If running cable through the wall, drill from outside in (or inside out if you prefer) at a slight downward angle to prevent water intrusion. A 3/4″ hole works for most single-cable runs. Insert a grommet or seal the gap with silicone after cable routing.
4. Mount the bracket. Use stainless steel or coated screws to resist rust. Torque screws snug but don’t overtighten, stripped wood or cracked plastic brackets compromise the mount. If the surface is uneven (like vinyl siding), add a mounting block (a flat PVC or wood pad) to provide a stable base and improve weatherproofing.
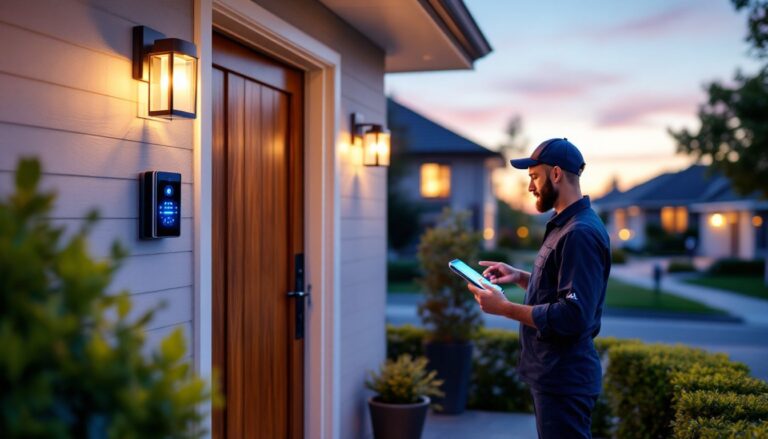
5. Attach and aim the camera. Connect the cable, then secure the camera body to the bracket. Adjust pan, tilt, and rotation to frame the target area. Most cameras offer a live-view app for fine-tuning angles: have a second person inside with a phone or tablet to confirm coverage while you adjust.
6. Weatherproof all connections. Wrap any outdoor connectors or splices in self-fusing silicone tape and tuck them into a weatherproof junction box. Apply a bead of exterior silicone around the camera base and cable entry to seal against rain.
Wiring and Power Setup
PoE Systems:
Run Cat5e or Cat6 cable from each camera to the NVR or PoE switch. Use solid-core cable for in-wall runs (more durable and code-compliant) and stranded cable only for patch cords. Maintain a bend radius of at least four times the cable diameter to prevent kinking. Secure runs every 4–5 feet with staples, avoiding compression that can damage conductors.
If the run exceeds 328 feet (100 meters), signal degradation occurs, install a PoE extender or midspan injector to maintain power and data integrity. Test each connection with a cable tester before drywall or trim conceals it.
Low-Voltage DC Systems:
For 12V DC cameras, run 18/2 wire (red and black) from the camera to a centralized power supply or individual plug-in transformers. Keep total cable length under 100 feet to prevent voltage drop: longer runs may require a higher-voltage supply (24V) or thicker wire (16/2). Use wire nuts or terminal blocks in a junction box for splices, never leave exposed connections.
If drilling through a rim joist or top plate near electrical wiring, maintain a 1 1/4″ separation from line-voltage circuits per NEC guidelines, or run low-voltage cable in separate conduit.
Wireless Cameras with AC Power:
Mount a GFCI-protected outlet within 6 feet of the camera if adding new power outdoors. Exterior outlets must use weatherproof “while-in-use” covers (the spring-loaded kind that seal around the plug). Hire a licensed electrician if you’re uncomfortable with AC wiring, DIY electrical work often requires permits and inspection.
Network Integration:
Connect the NVR or camera system to your router via Ethernet for best performance. Enable DHCP reservation or assign static IPs to each camera in the router settings, preventing address conflicts. Update camera firmware before finalizing installation to patch security vulnerabilities.
Common Installation Mistakes to Avoid
Mounting cameras too low. Cameras below 7 feet are easily vandalized or redirected. Mounting at 8–10 feet keeps them accessible for maintenance but out of casual reach.
Ignoring Wi-Fi signal strength. Wireless cameras placed 50+ feet from the router or behind masonry walls will suffer dropouts. Test signal with a phone app before drilling mounting holes. Consider adding a Wi-Fi extender or mesh node for distant locations.
Overlooking backlight and glare. Cameras aimed toward bright skies, street lights, or reflective surfaces produce washed-out footage. Position cameras so the subject is illuminated from behind the camera when possible, or enable WDR (wide dynamic range) mode if available.
Skipping a test run before permanent install. Temporarily power and position each camera, check the live feed, adjust angles, and verify night vision before sealing walls or applying caulk. Fixing mistakes is far easier before everything’s buttoned up.
Using inadequate anchors or screws. Plastic anchors in drywall can’t support camera weight plus wind load. Always mount to studs, or use toggle bolts rated for the combined weight.
Failing to weatherproof outdoor cable entries. Unprotected holes allow water infiltration, leading to rot, mold, or short circuits. Seal every penetration with silicone and use drip loops on exterior cables.
Not checking local codes. Some jurisdictions require permits for low-voltage work, especially if drilling through fire-rated walls or working near gas or electric meters. A quick call to the building department, or checking resources like Angi or HomeAdvisor for contractor requirements, can prevent code violations.
Neglecting cable management in attics. Loose cables draped over insulation can be damaged by foot traffic or rodents. Secure runs to joists or rafters with staples, and avoid laying cable across the tops of ceiling joists where future HVAC or electrical work might crush them.
When weighing security camera installation cost, factor in not just equipment and tools, but also the value of time and the risk of mistakes. If the project involves complex routing, multi-story exterior work, or integration with existing alarm system monitoring companies, consulting a local security camera installer for a bid provides a useful benchmark, and peace of mind that the job meets code and warranty requirements.